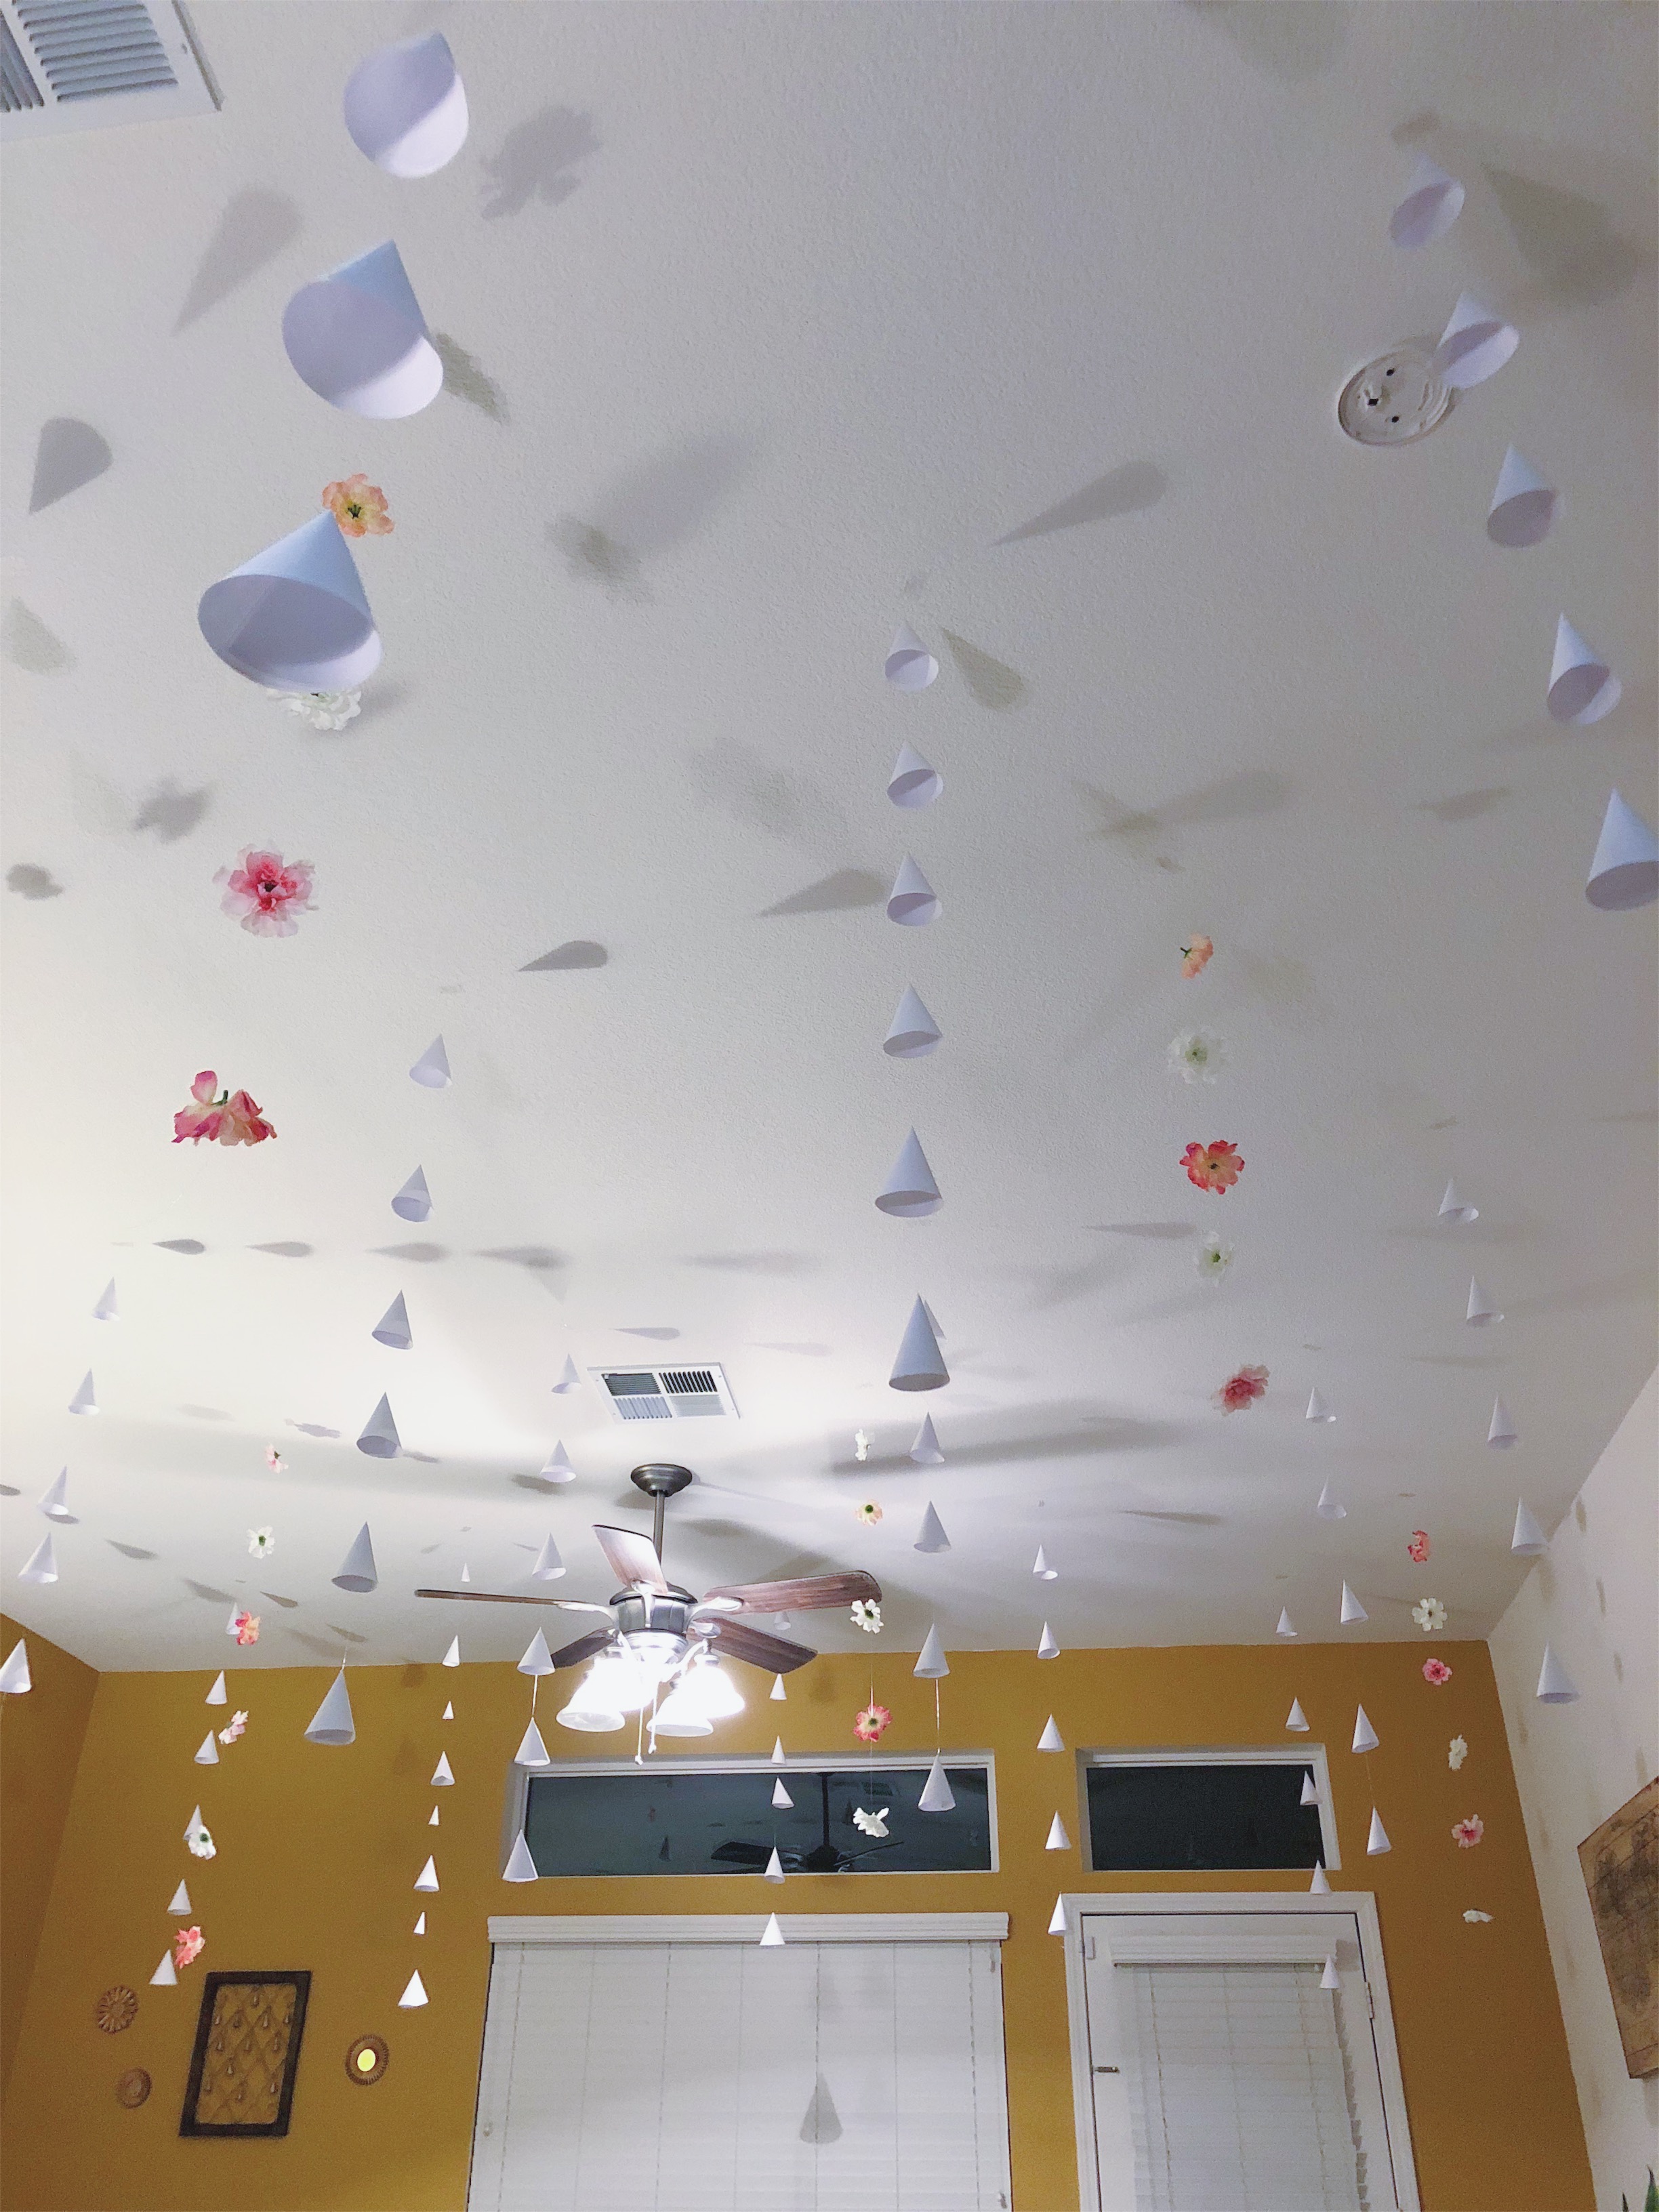
DIY Paper Cone & Flower Hanging Garlands
Looking for an inexpensive way to create a 'WOW' impression at your next party?
These beautiful hanging garlands will add a Lovely sophisticated look to any occasion.
Materials:
1 Glue stick
1 Hot glue gun
1 Spool of Clear Fishing line
(For Paper Cone Garland)
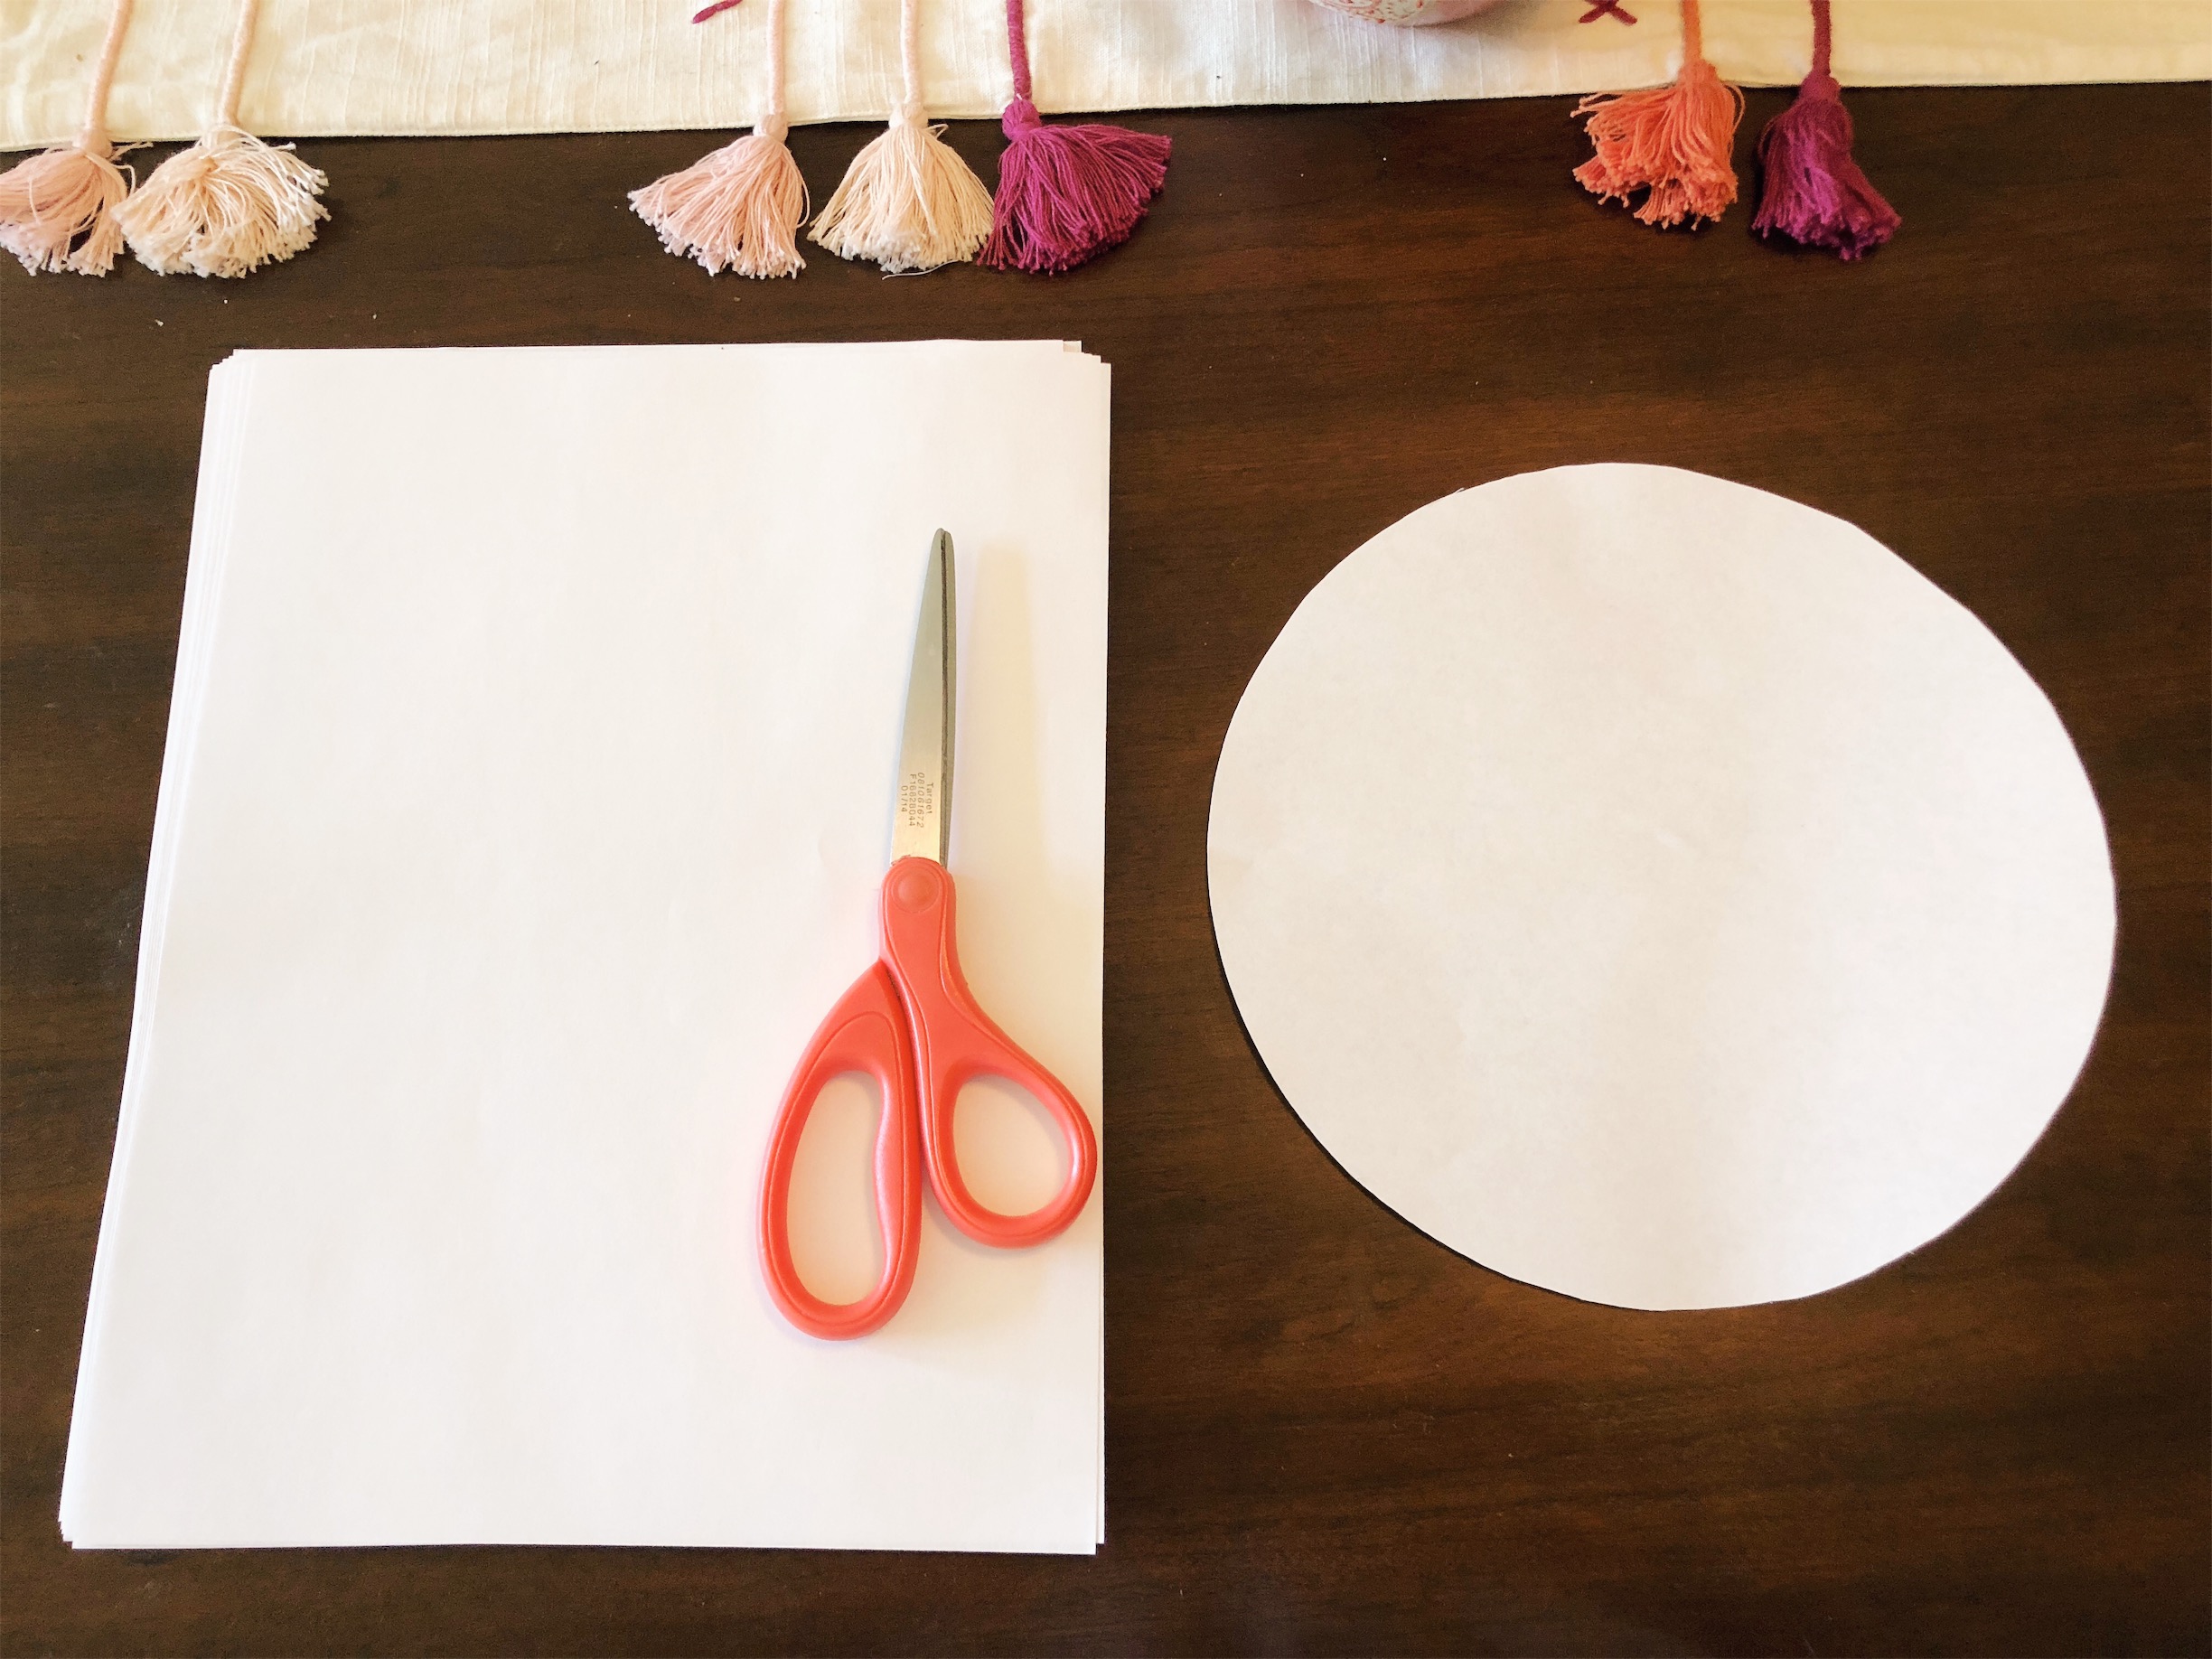
1 Ream of basic white copy paper (or deli sheets)
1 Pair of scissors or a circle cutter (Like Fiskars Circle Cutter)
(For Flower Garland)
An assortment of plastic flowers (or dried but it'll require careful hands as they are more fragile)
Paper Garland Steps:
- Step 1: Cut the fishing line anywhere from 2.5-4 feet in length depending on your ceiling height. Repeat until you have as much line as you'll need for your garlands.
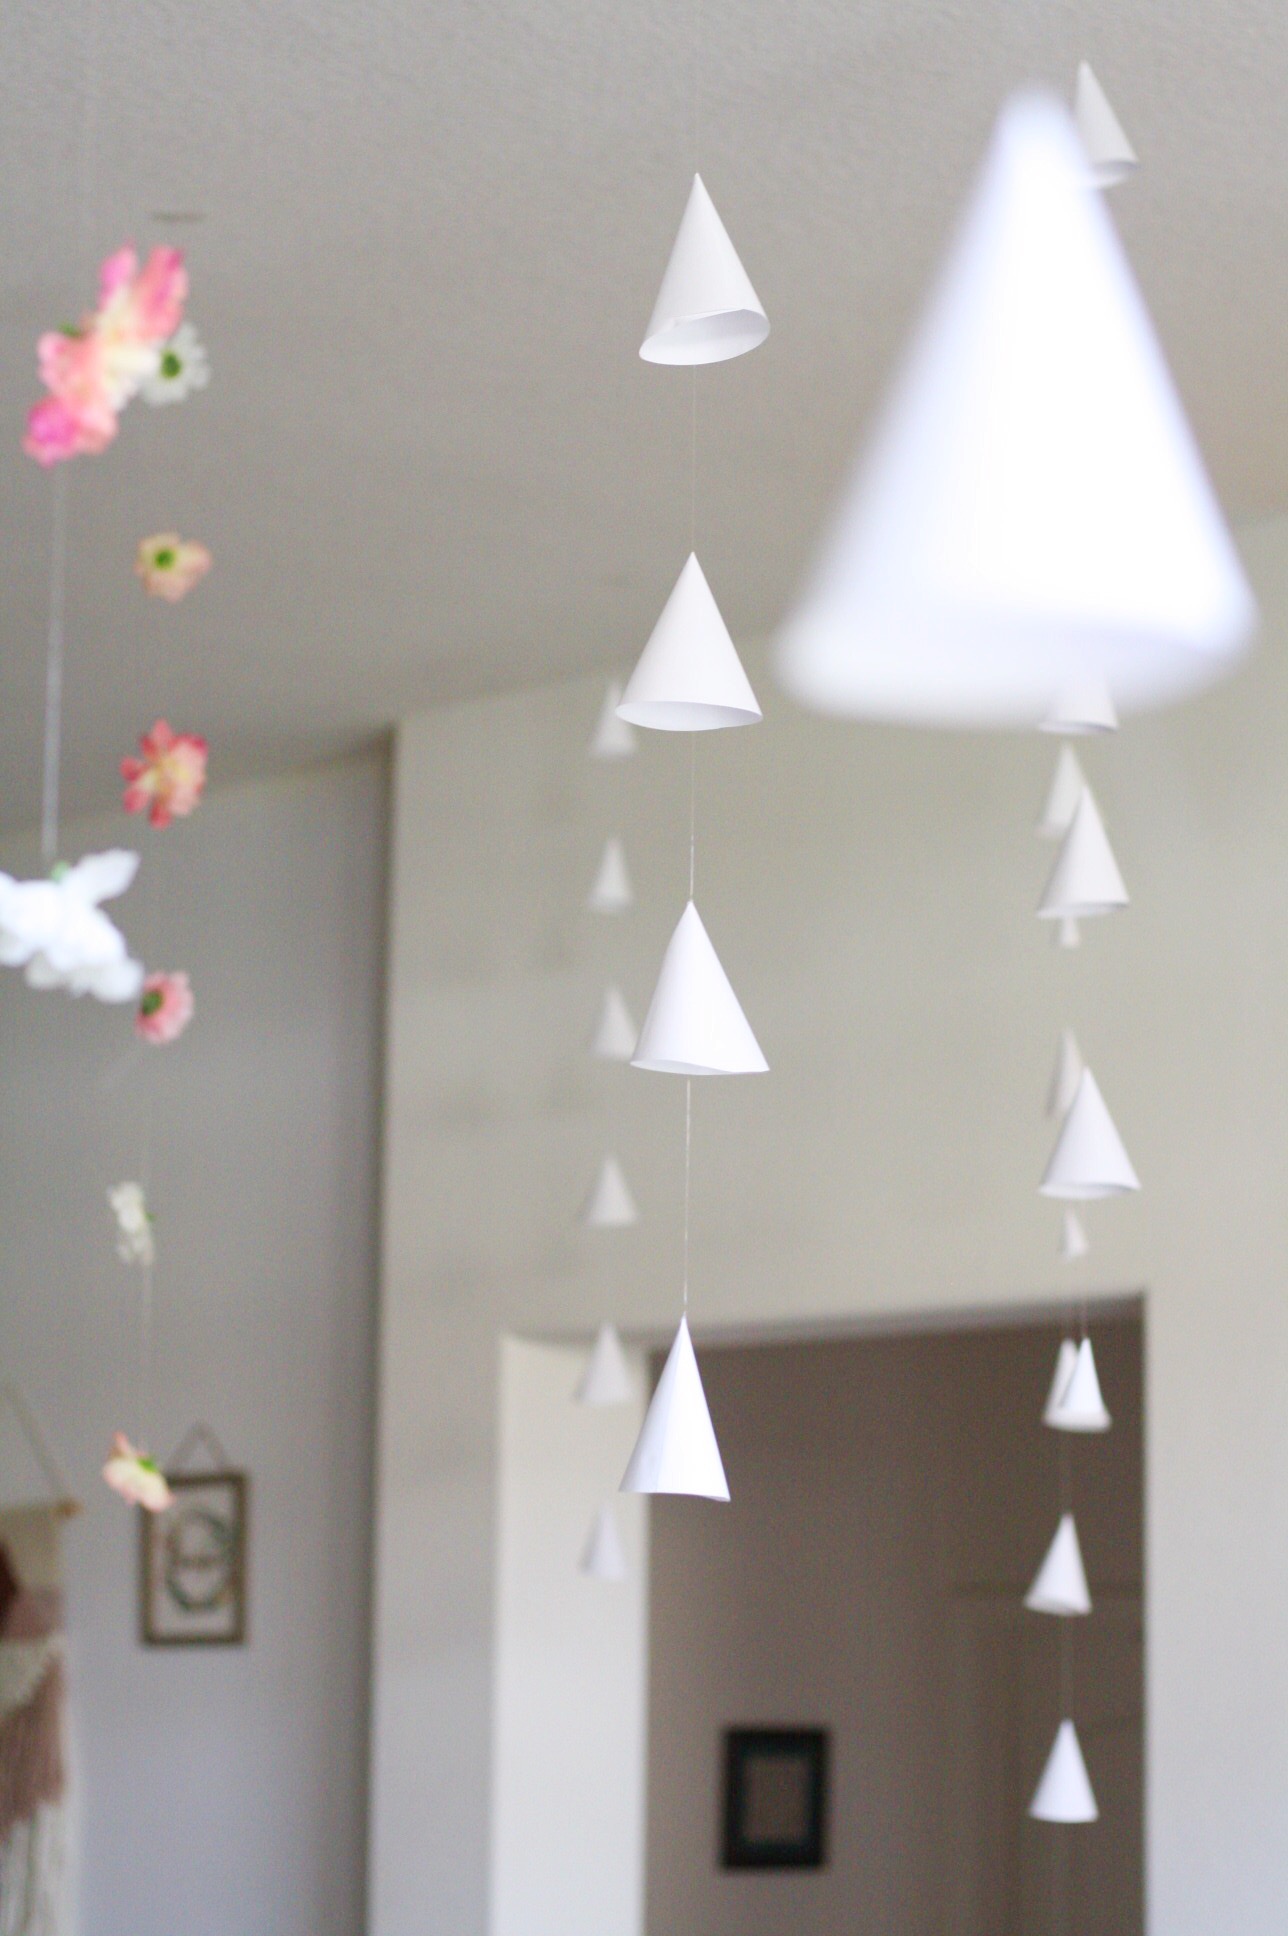
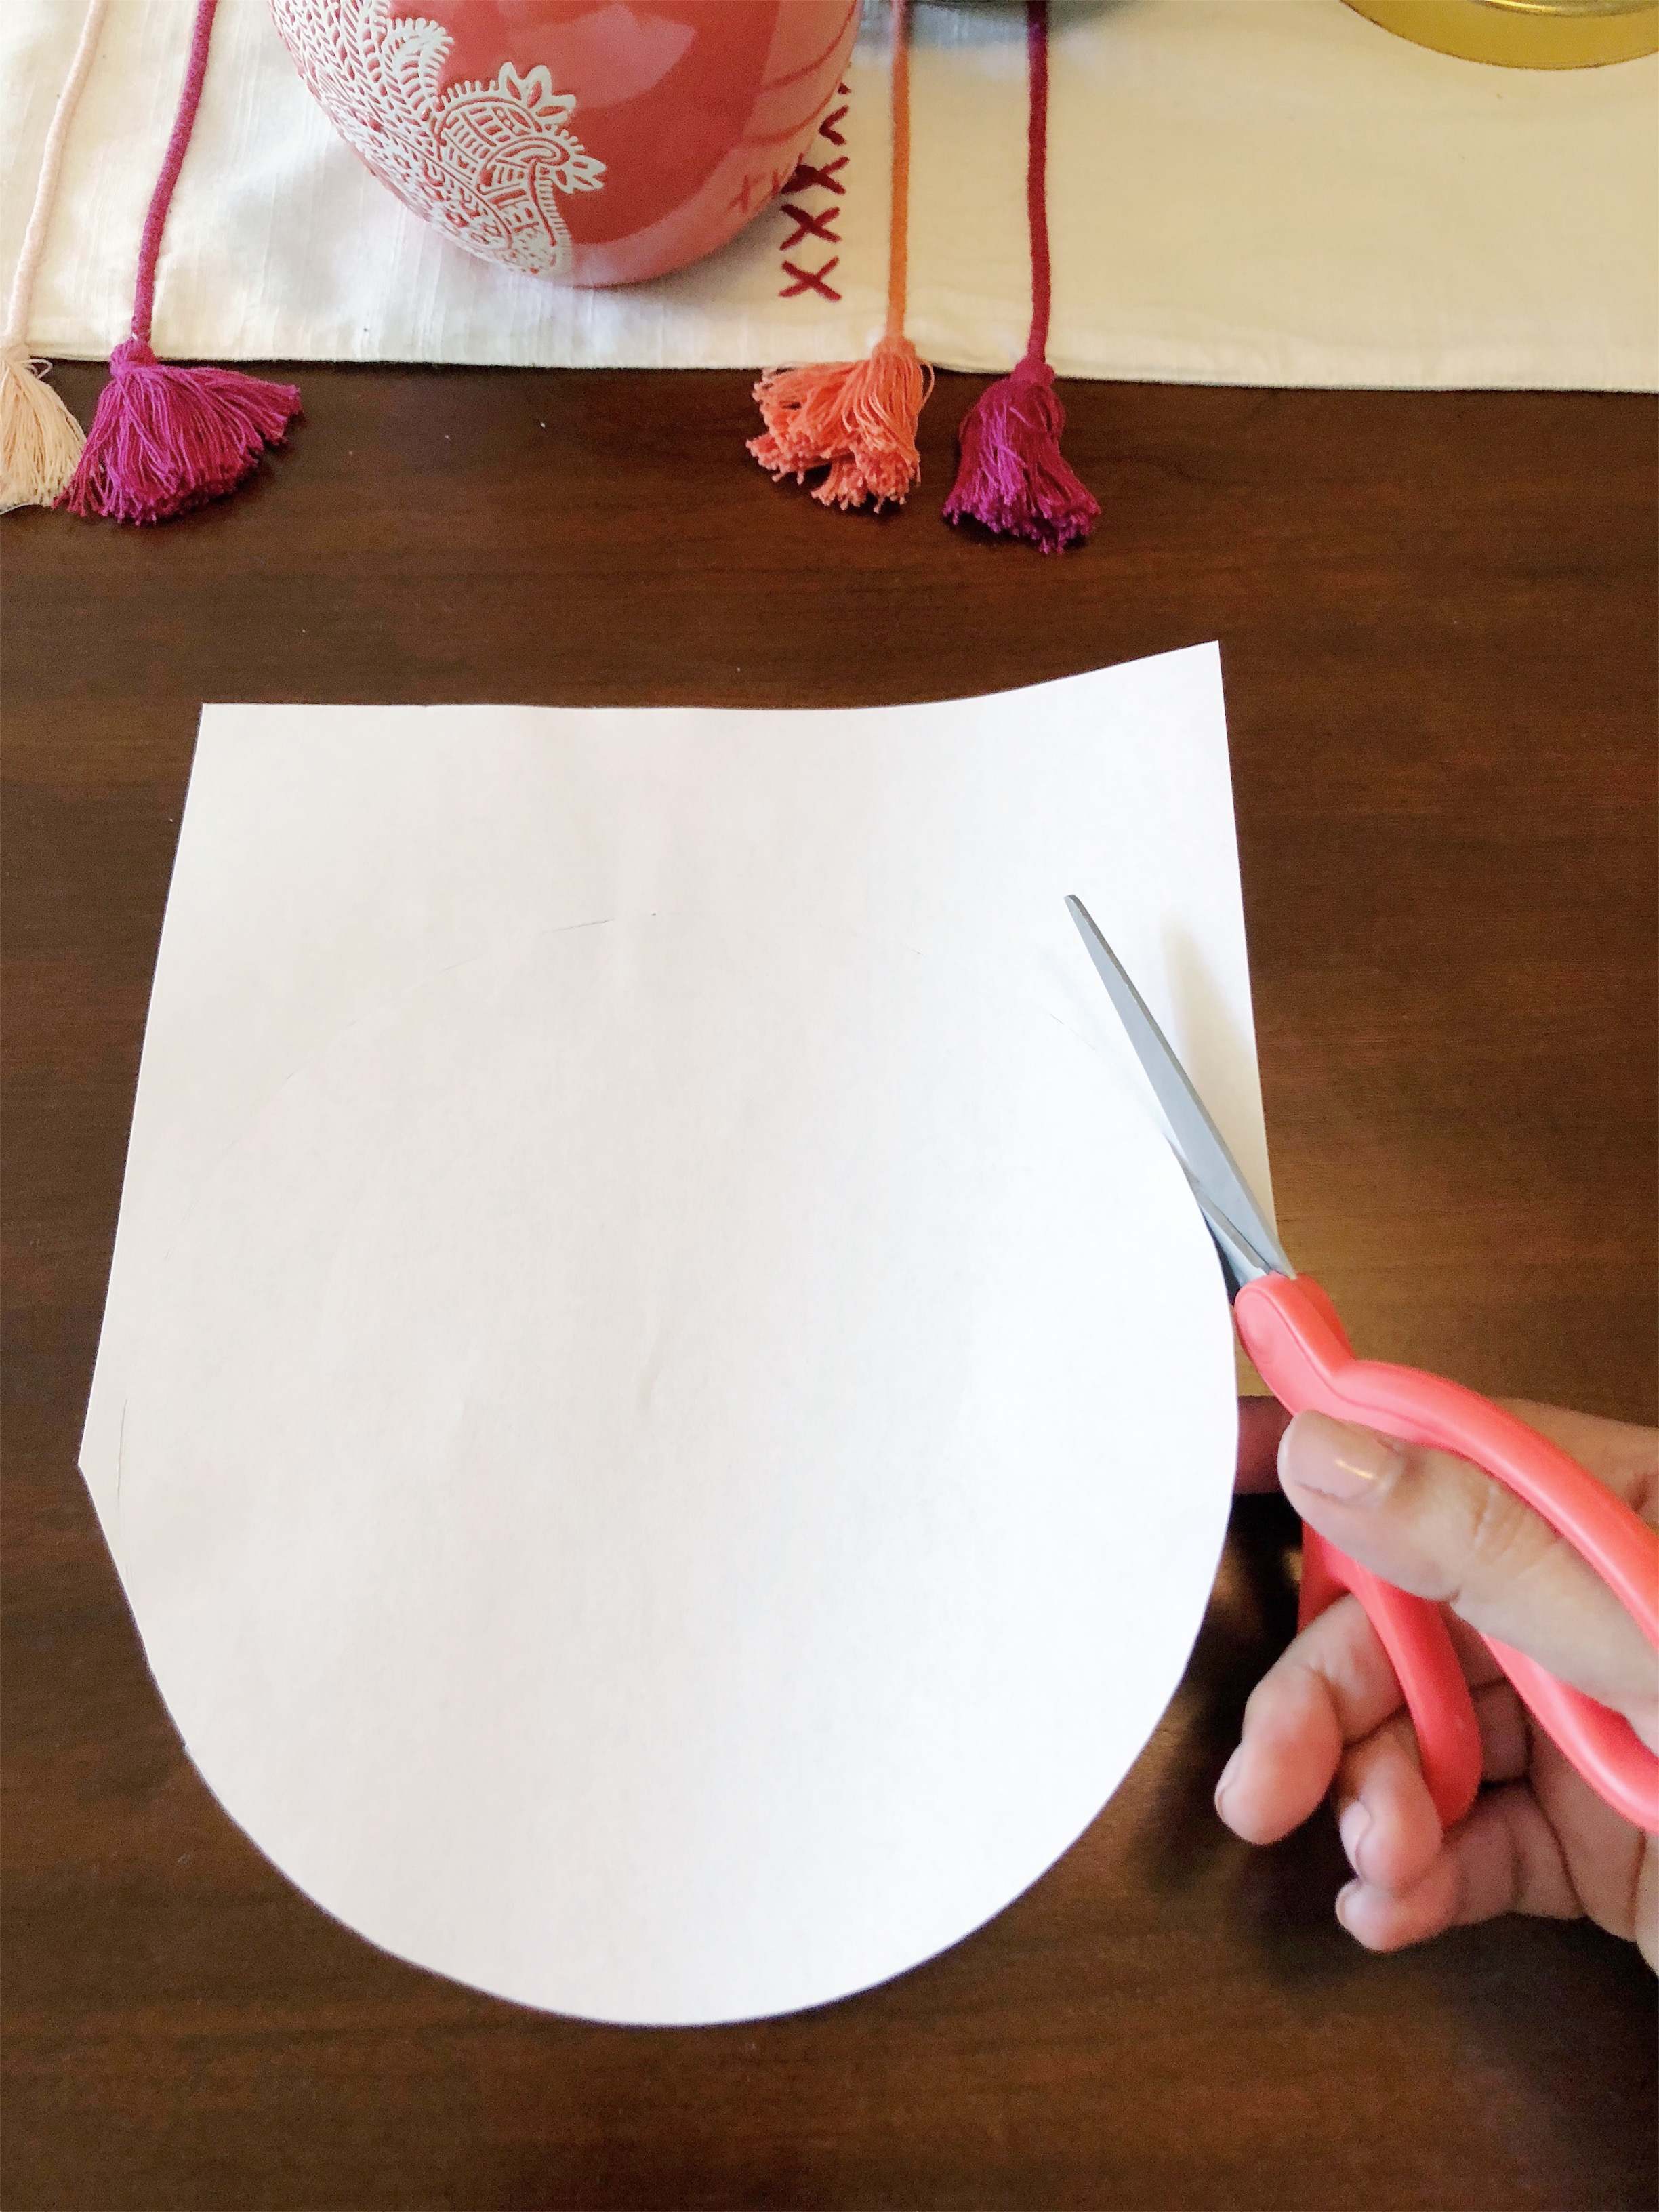
- Step 2: Cut different shaped circles. (We cut large and small circles for our garlands but found that we loved the look of the larger circles once they were strung).
- Step 3: Fold the circles in half (careful not to crease the paper too much) and cut in half.
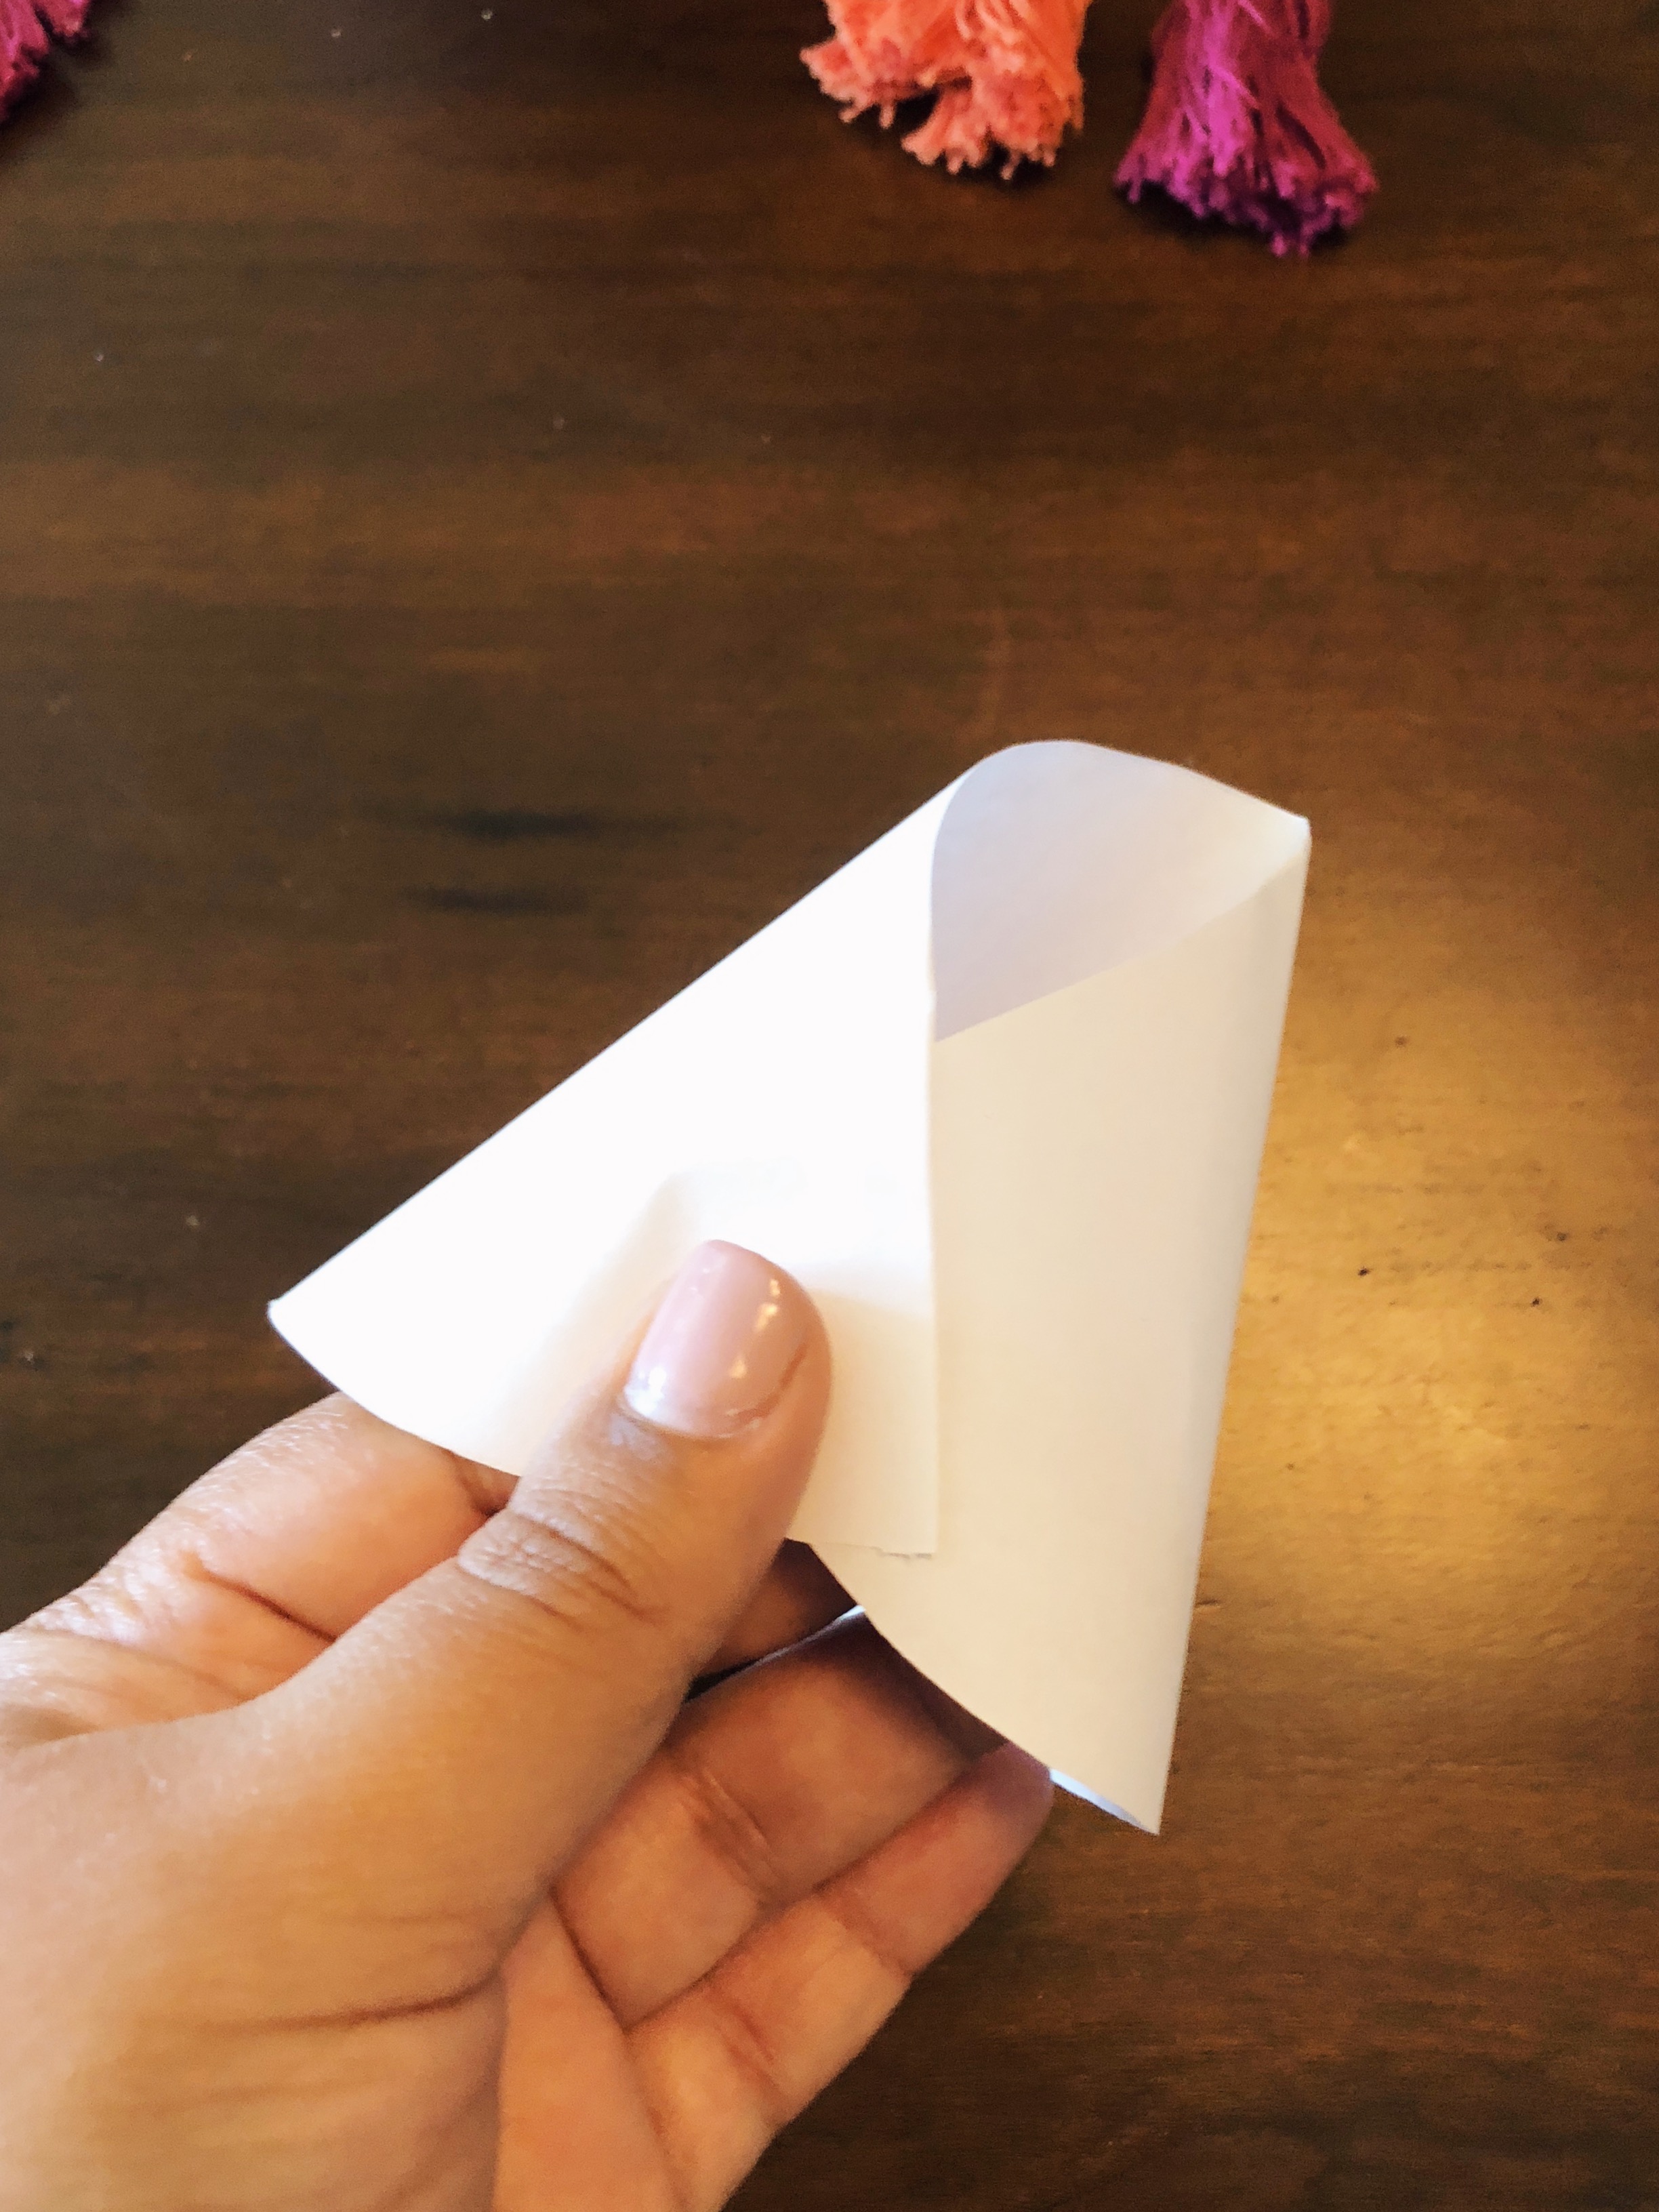
- Step 4: Fold the half-circle into a cone shape by turning the corners in towards each other so that they overlap. Secure cone shape by gluing one side to the other with your glue stick. Continue to repeat Steps 2-4 until you have as many cones as you'll need for your garlands. (For a 4 foot string, you'll need about 6 cones per string).


- Step 5: With your glue gun, place a large dot of glue about 3 inches down from the top of your string (this is where your garland will be hung from. We'll call it a "glue dot stopper".)
- Step 6: String a cone through the line going upwards until you hit your "glue dot stopper" at the top.
- Step 8: Place a dot of glue inside the top of the cone at the opening to create another "stopper".
- Step 9: Fill length of string with cones, leaving about a finger's width of space (or about 3in if the string is 4ft long) between each cone and placing "glue dot stoppers" inside each cone at the opening.
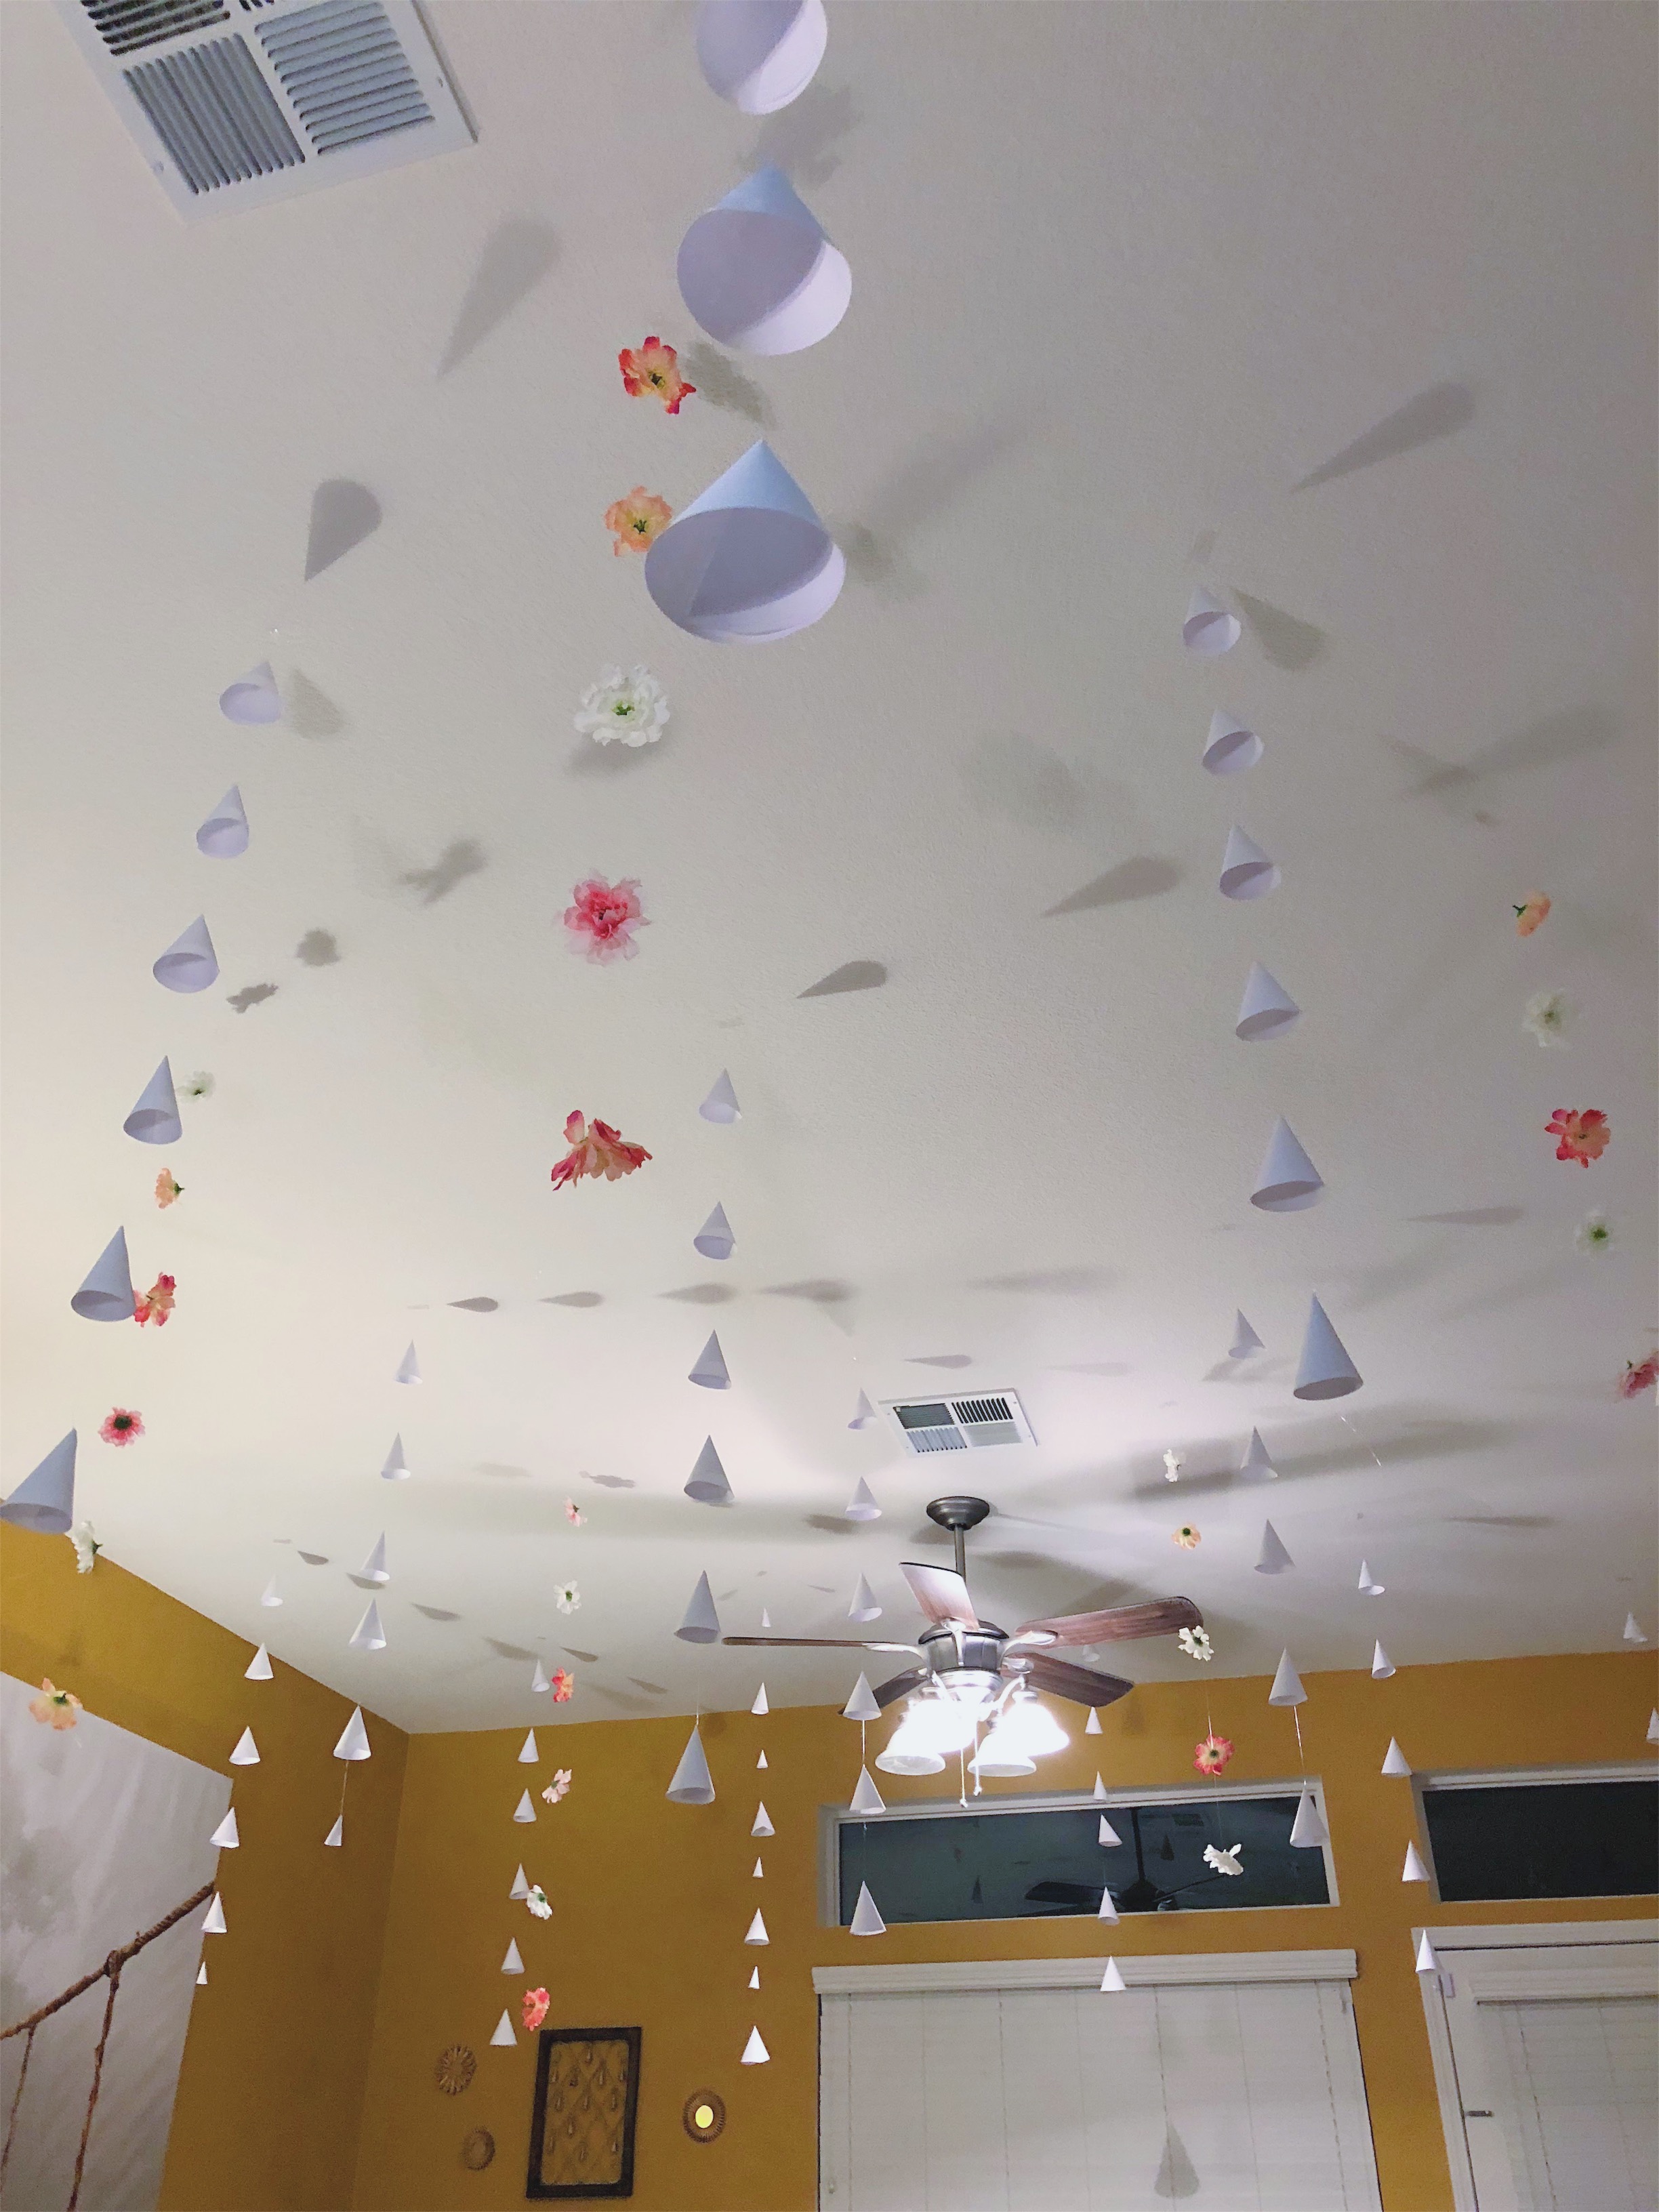
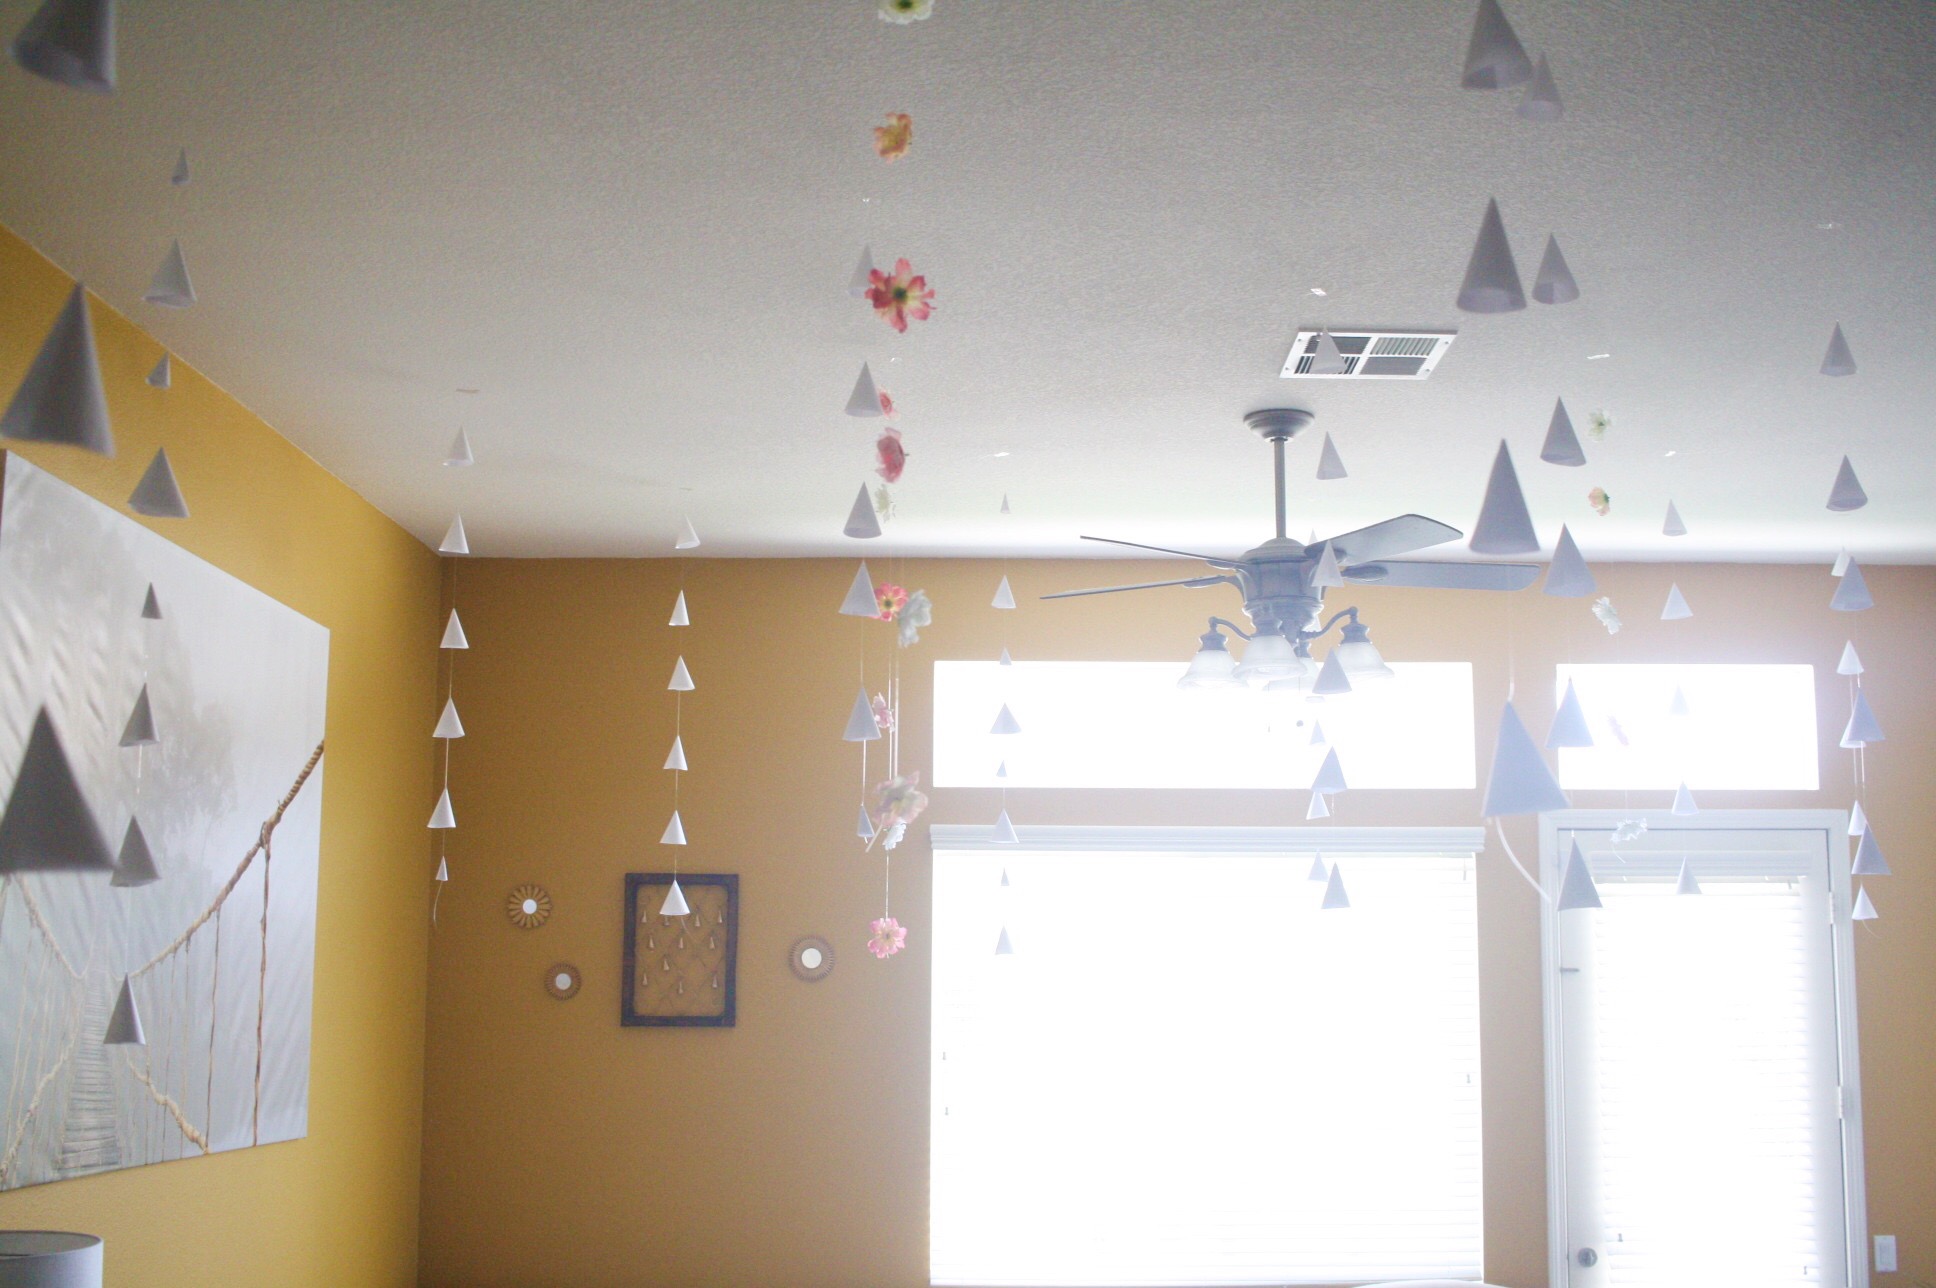
- Step 10: Using tape or push pins, hang the garlands on your ceiling.


Flower Garland Steps:
- Step 1: Cut the fishing line anywhere from 2.5-4 feet in length depending on your ceiling height. Repeat until you have as much line as you'll need for your garlands.
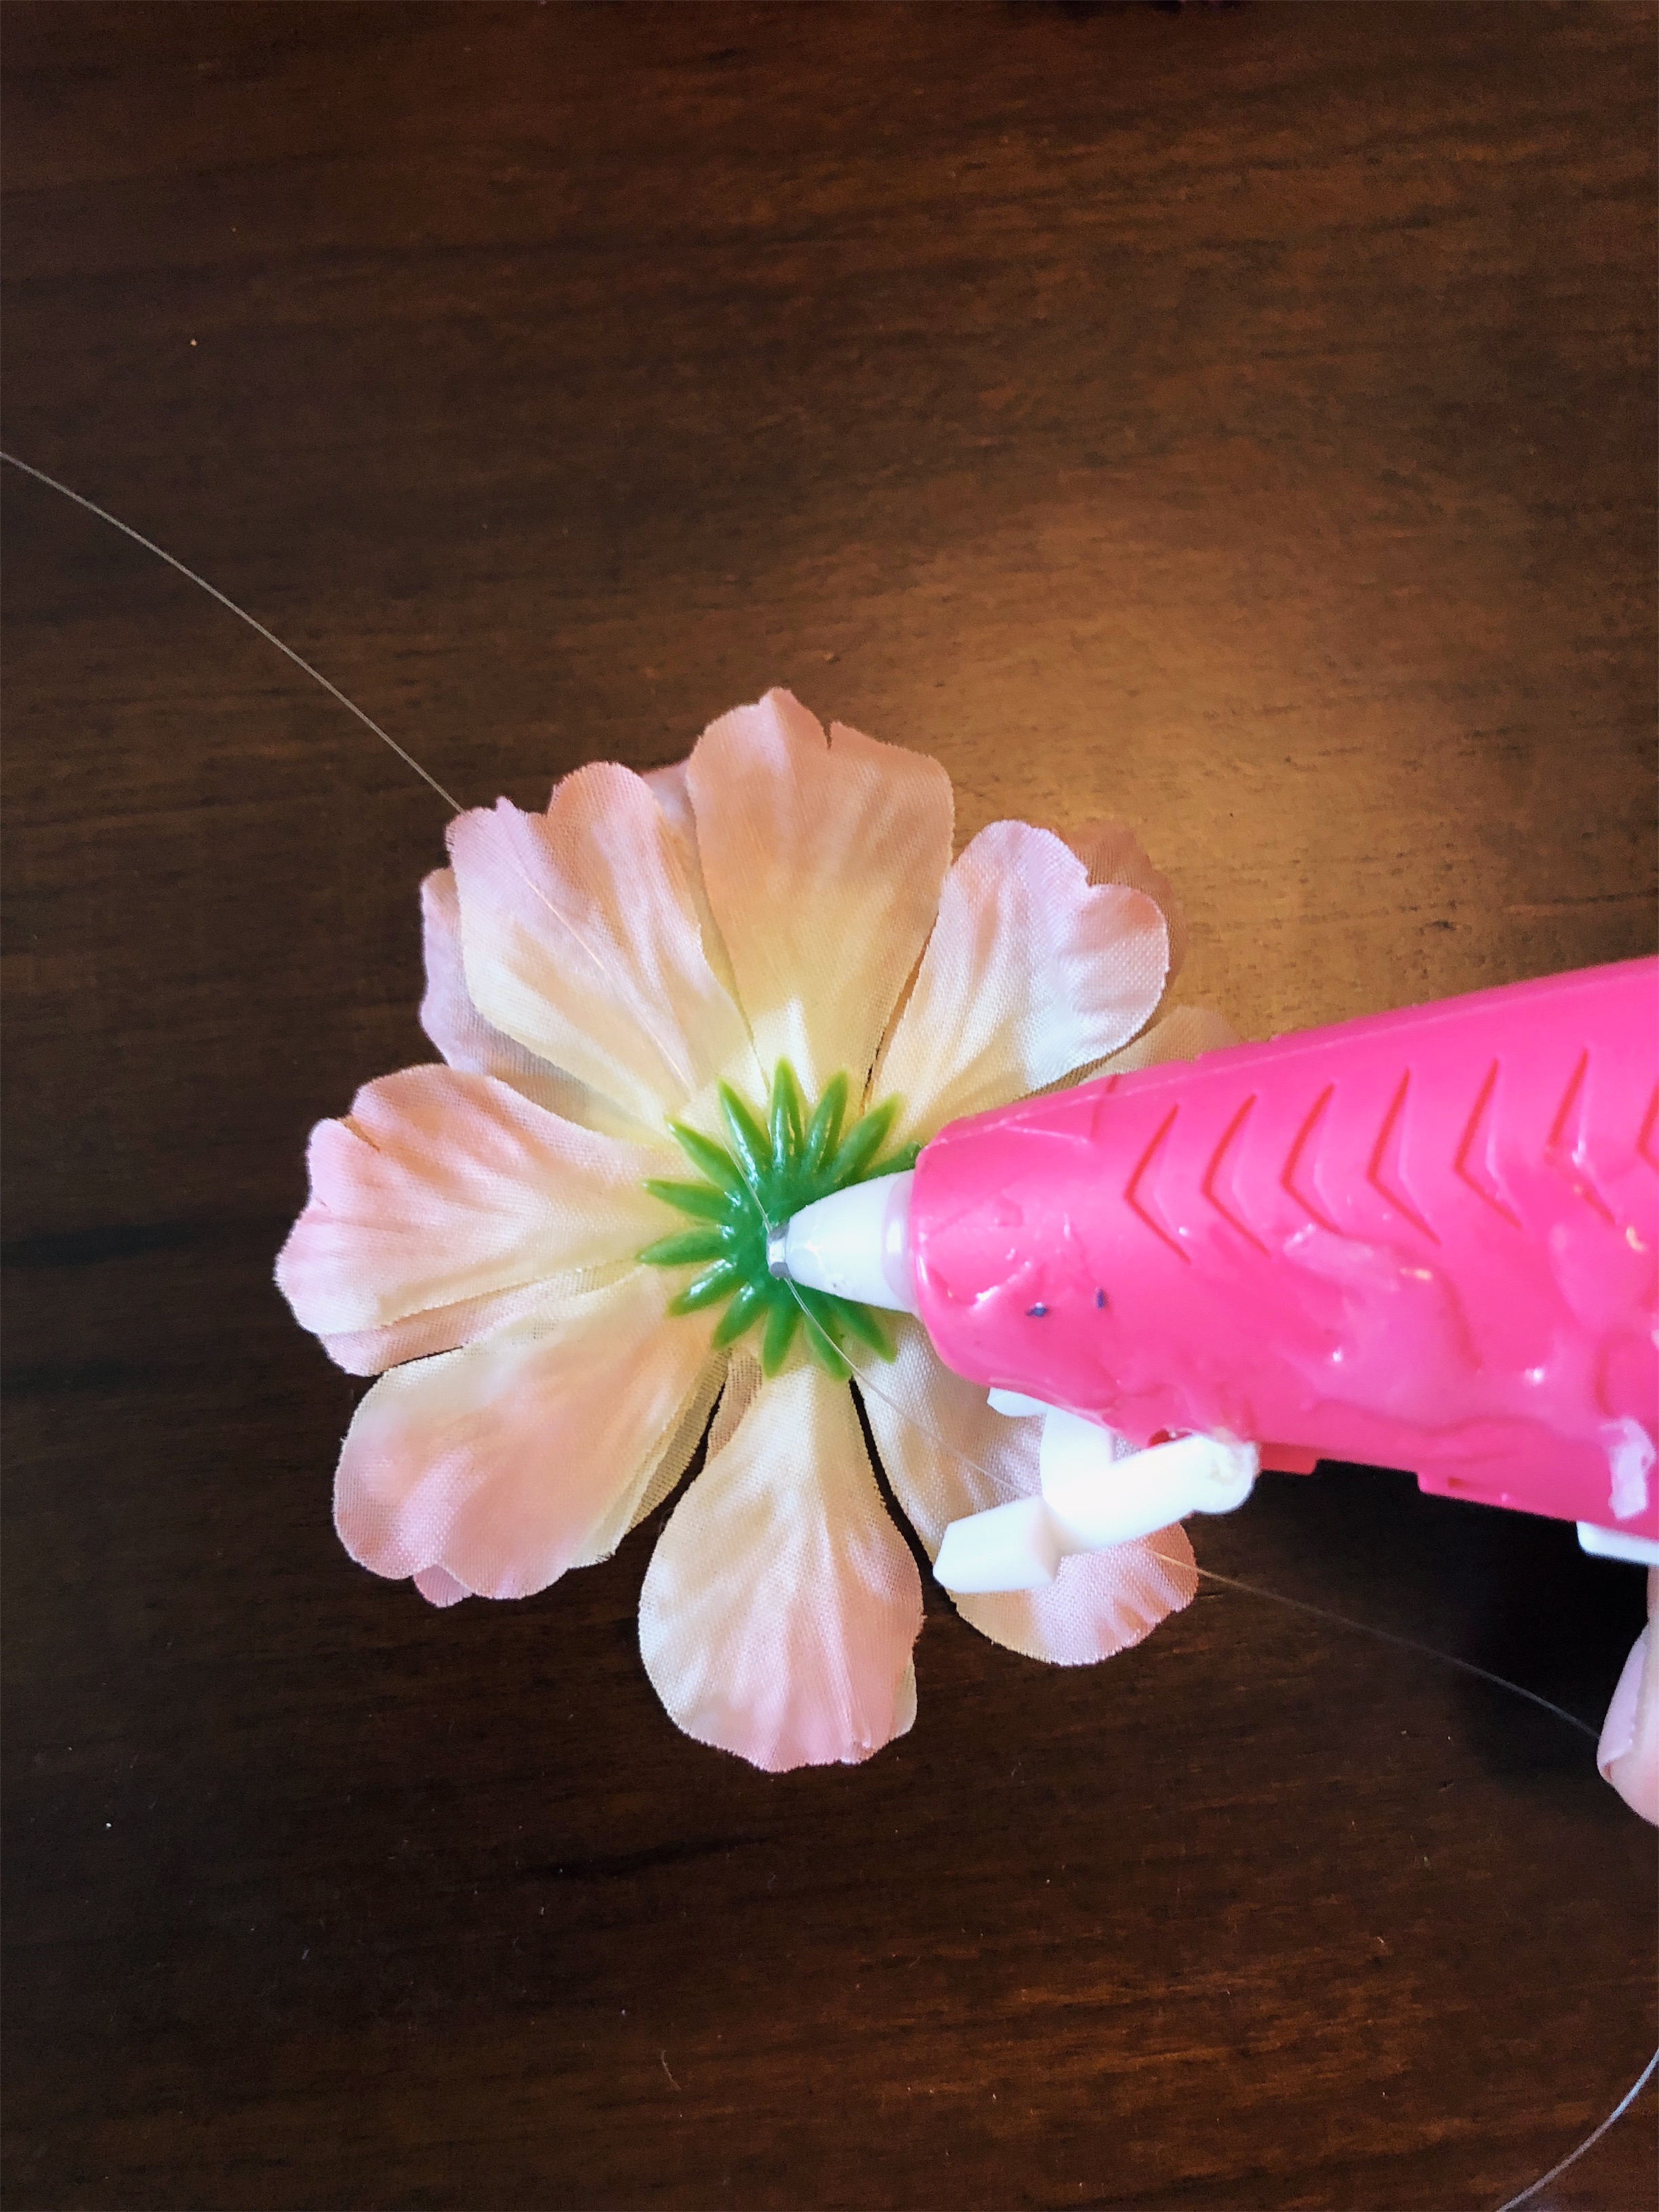
- Step 2: Remove flower buds from the stems and cut any leftover stems.
- Step 3: Using your glue gun, glue the flower bud to the garland (leaving about 3in. from the top to hang).
- Step 4: Fill length of string with flowers, leaving about a finger's width of space (or about 3in if the string is 4ft long) between each flower.
- Step 5: Using tape or push pins, hang the garlands on your ceiling.


We absolutely love the look of these garlands and the more you create, the more magical your event space will look. You can even use these hanging garlands as a photo backdrop! We can't wait to see all the different ways you use these! Make sure to leave us a comment below and let us know how your DIY garlands turned out or share your event pics using these lovelies!